Index
Getting Started
Network Setup
Remote control setup
Music Library Setup
Play Spotify Tracks & Playlists
Play From Last.fm
Play From SoundCloud
Fix your media library with beeps
Ramplay mode
Troubleshooting
Getting Started
The RaspyFi distro is designed to achieve the highest sound quality from your PI without needing to configure it. It is a collection of softwares that work altoghether to deliver an hassle-free listening experience. The core of RaspyFi is Mpd. It’s ready to play and in 10 minutes you’ll be able to listen to your music library, following these easy steps.
1- Download latest RaspyFI release here
2- Unzip it
3. Write the RaspyFi.img file to your SD Card
4. Once write has finished, you’re ready to go. To start just:
- Insert your sd card in the Raspberry Pi slot, (make sure it’s not write protected)
- Plug your USB DAC on usb port, for compatibilty see the Raspberry Pi usb Dac compatibility List
- If you don’t have any USB Dac, just plug the analog jack
- Plug your usb storage, if you wish to read your music library from a nas see here
- Connect the pi through ethernet or wi-fi, for reference see Networking
- Plug the PSU to the Pi, at least 1a and 5 volts, for more informations see here
- Discover your raspberry Pi ip, for reference see Discover your raspberry pi ip
- Connect with your desired remote client, and enjoy!
Network Setup
Discover your raspberry pi ip
Ethernet
Wi-fi
Configure with Static Ip
Discover your raspberry pi ip
-Connect a screen trough hdmi or s video, you’ll see the pi’s Ip on the screen
-Connect to your router admin panel, refer to you router’s user manual for detailed information oh how to show ip addresses of connected devices
-For android: download Fing from the Play Store. This app shows the devices connected through your network and list their ip.
Ethernet
RaspyFi will autoconnect if a ehternet cable is plugged in. If you need to change your ethernet configuration, just type via ssh or by a connected keyboard:
sudo wicd-curses
Place the cursor over “Wired Networks” and press right arrow key, you can then reconfigure the ethernet link as you desire. Then save with F10.
Wi-fi
Plug your usb wi-fi adapter, the boot your pi. For further informations see: Wi-Fi on Raspberry Pi
Configure with Static Ip
This is useful when your router assigns different ips to your pi every now and then. You can set a static ip in order to keep the same client configuration.
Type via ssh
sudo wicd-curses
Select wired or wi fi network, then press right arrow key. Check with space bar “use static Ip” and configure as follows:
IP:your desired ip, should be the same as your router’s ip, only last number has to be different. Use a number not used by other devices on your network.
NETMASK: 255.255.255.0
GATEWAY: your router ip (typically 192.168.1.1 or 192.168.0.1)
Then press F10 to save your configuration. Reboot and RaspyFi will use the Ip you set.
Remote client Setup
You can control RaspyFi with various client applications. There are a lot in the wild, both free and not. To help you in this tremendous choice, here you’ll find the most notorious ones:
Windows, Mac & Linux
Android
iOS
Windows Mobile
Symbian
Windows, Mac Linux
GMPC
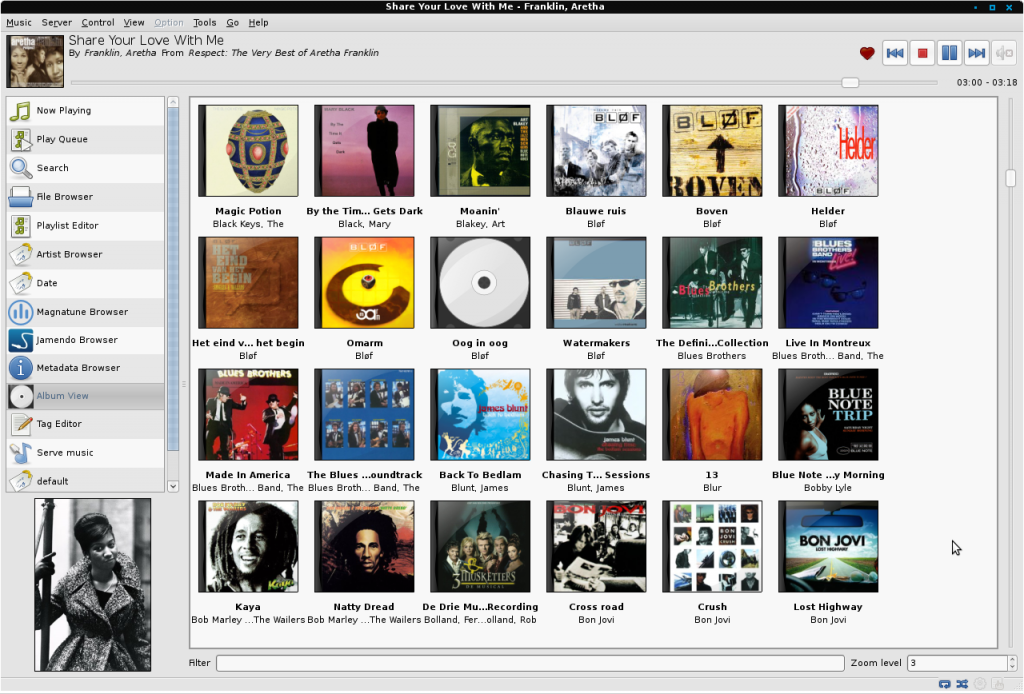
Nice and easy client, it offers several functionalities, few hanging issues, but it is my favourite. This is the choice if you want to control RaspyFi from a computer. Gmpc functionalities can also be extended by installing some plugins.
Download GMPC Windows Linux Mac
Android
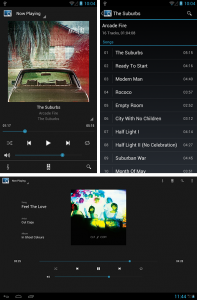
Mpdroid, fantastic app. Available free from PlayStore
iOs

Mpod, for iphone\ipod touch. Free on Itunes Store


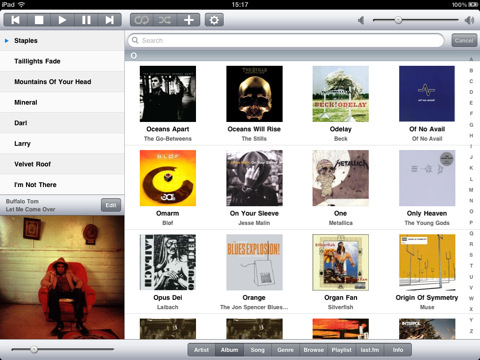
Mpad, for Ipad. Available on Itunes Store

Windows Mobile
Symbian
Music Library Setup
Usb storage
RaspyFi will automatically mount your usb storage via usbmount. So, your music will be mounted on /media/usb
Nas
RaspyFi uses autofs to mount Samba Shares. Your share will be mounted when you start playing. The configuration file is
/etc/auto.nas
You can use your Nas by editing this line by
sudo nano /etc/auto.nas
and change this line
Nas -fstype=cifs,file_mode=0777,dir_mode=0777,iocharset=utf8,rsize=2048,wsize=4096,cache=strict,username=pi,password= ://192.168.x.x/sharename
where //192.168.x.x is the nas ip and sharename is your shared folder name.
Then save and exit. Autofs will mount your nas when mpd tries to access it.
Play Spotify Tracks and Playlists
You need a Spotify premium account to do this.
All you have to do is insert your username and password (METTERE CONFIGURAZIONE WEBUI
To play from Spotify you have 2 options:
-First Method, insert your tracks into playlist
1-Open your win/mac spotify client, search a song or add it to a playlist, right-click on it and “copy Spotify URI”
2- From GMPC, select “Tools” then “Add Url” , write spt:// and then paste the URI you previously copied. Done!
-Second Method, use despotify gui for continuous artist playback
1- Connect to RaspyFi via SSH, type despotify, then :connect
2- Insert your Spotify and Password
3- Type :search , then feel free to browse Spotify library by searching, to play press enter. More Info here
4- To play and pause use spacebar, to quit type :quit
Play From Last.fm
…section 2…
Play From SoundCloud
…section 2…
Fix your media library with beets
Beets is an awesome tool. Quoting from source:
The purpose of beets is to get your music collection right once and for all. It catalogs your collection, automatically improving its metadata as it goes using the MusicBrainz database. (It also downloads cover art for albums it imports.) Then it provides a bouquet of tools for manipulating and accessing your music.
Because beets is designed as a library, it can do almost anything you can imagine for your music collection. Via plugins, beets becomes a panacea:
- Embed and extract album art from files’ tags.
- Listen to your library with a music player that speaks the MPD protocol and works with a staggering variety of interfaces.
- Fetch lyrics for all your songs from databases on the Web.
- Manage your MusicBrainz music collection.
- Analyze music files’ metadata from the command line.
- Clean up crufty tags left behind by other, less-awesome tools.
- Browse your music library graphically through a Web browser and play it in any browser that supports HTML5 audio.
To start, just import your library with:
beet import /var/lib/mpd/music
Ramplay mode
This is an experimental funcion, it works basically by copying your music files to a virtual drive on the RAM Memory. Then we clear the play queue, then we add the music we copied to the play queue and we tell mpc to play it.
In these version, Ramplay is quite unconfortable, in next release it will be more user friendly. Please note that you’ll need a 512 Model B to use this feature.
This mode will provide the highest quality out of the little pi, so this trick is well worth the hassle.
1- Download FileZilla
2- Install it, then configure it as follows:
Host: 192.168.your raspberry pi ip
Protocol: SFTP SSH File Transfer Protocol
Access Type: Normal
Username: pi
Password: raspberry
Then click on connect. You only have to set this configuration the first time you connect to the Pi. If you save this profile, next time it will be a matter of seconds to connect to the pi. With this you can browse the file on the Raspberry. We will use this to transfer the files to the virtual disk on Ram. You’ll find 2 main tabs on File Zilla, the one on the left shows your local drive, the one on the right the Raspberry Pi.
Just Browse the files on your hard drive and drag&drop them on this folder on the Raspberry:
/run/shm/
Please note that total filesize should not exceed 250 mb. You can exceed those file limit by increasing /run/shm size, but this can have undesired effects. You can resize the ram partition by editing /etc/fstab
none /run/shm tmpfs defaults,size=256M,noexec,nodev,nosuid 0 0
Changing the size= value. I suggest not setting more than 380 mb. This should be good for an entire flac album.
When transfer is finished. You’re ready to go. Just type this commands (your play queue will be overwritten)
sync;echo 3 > /proc/sys/vm/drop_caches
mpc clear
mpc update ramplay
mpc ls ramplay | mpc add
mpc play
Now, the pi will start to play. Enjoy RamPlay mode, possibly the best audio quality you can get on Pi!
Please note that you’ll lose the files you copied everytime you reboot.


