The RaspyFi distro is designed to achieve reasonable sound quality from your PI without needing to configure it. It’s ready to play and in 10 minutes you’ll be able to listen to your music library, following these easy steps.
1- Download latest RaspyFI release here
2- Unpack it with WINRar
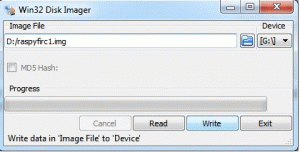
3. Write the unpacked SD Image to your SD via Win32diskImager
Select the .img file you previously unpacked and make sure “device” field points to your SD card, then click on Write
4- Connect your Fat32 usb memory or hard disk (must be self-powered) with your music to the Pi.
5. Connect your USB Dac (the Pi has enough power output to feed it, don’t worry) to the Pi
6- Power up your Pi
7- From your browser type http://raspyfi/ to access the WEBUI
Configure it and you’re ready to go. If your music sits on USB Drive, just plug it and you’ll listen to them immediatly. If you need to configure a NAS, just go to settings -> Database
Alternatively you can Get and install your favourite Remote Client
Windows\Mac\Linux
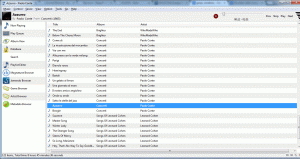
Gmpc . Nice and easy client, it offers several functionalities, few hanging issues, but it is my favourite
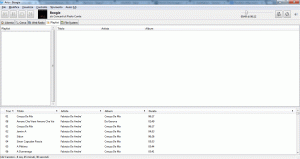
Ario. Lot of options, poor gui. It has Internet Radio enabled out of the Box
Android
Mpdroid, fantastic app. Available free from PlayStore
IOs
Mpod, for iphone\ipod touch. Free on Ios Market.
Mpad, for Ipad.
10-Enjoy!!!
SSH
User: pi
Password: raspberry
If you wish to use your RaspyFi’s powered Pi via W-Fi check the WI-FI Configuration Guide
6- Done!


Pingback: Райко Юрий » Wi-Fi на raspberry pi
Pingback: Wi-fi on Raspberry Pi, a simple guide - RaspyFi